Want to transform your Minecraft experience from blocky to breathtaking? This guide explores two powerful methods to enhance your game's visuals: ReShade and Minecraft shader packs. We'll compare both options, providing step-by-step instructions for installation and configuration, and helping you choose the best approach for your system and preferences. Get ready to unleash stunning visuals in your Minecraft world!
ReShade: A Universal Visual Enhancer for Minecraft
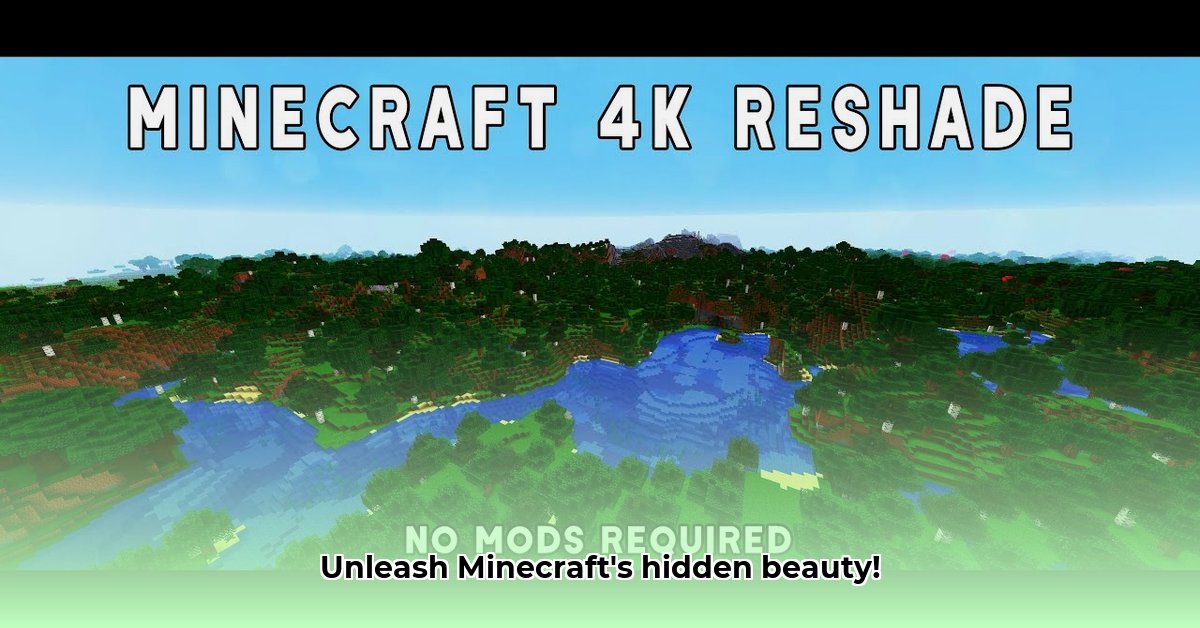
ReShade isn't a Minecraft-specific mod; it's a versatile post-processing injector compatible with numerous games. It acts as a filter, adding effects like improved lighting, shadows, and color enhancements to significantly improve your visual experience. Want to know how to download and use ReShade for Minecraft? Let's get started!
Installing ReShade: A Step-by-Step Guide
- Download the Installer: Visit the official ReShade website and download the installer. This is a straightforward process.
- Locate Your Minecraft Executable: Point the installer to your Minecraft executable file (typically found within your ".minecraft" folder). The precise location depends on your operating system.
- Select Your Effects: ReShade offers a vast library of shaders, allowing for extensive customization. Begin with a few to gauge their performance impact on your system. You can always add more later.
- Configure Settings: After installation, you'll access a user-friendly interface to tweak and fine-tune your shader settings. Experiment to find the perfect look for your Minecraft world.
ReShade: Pros and Cons
Pros:
- Broad Game Compatibility: Use ReShade to enhance visuals in other games beyond Minecraft.
- Extensive Customization: Achieve subtle improvements or a complete visual overhaul with granular control over settings.
- Thriving Community: A large community provides a wealth of pre-made shaders and support.
Cons:
- Steeper Learning Curve: Mastering the settings and options may require time and effort.
- Potential Performance Impact: Expect a potential decrease in frame rate, especially with more demanding shaders. High-end GPUs are ideal.
- Requires Technical Proficiency: Some technical understanding of shaders can improve your experience.
Minecraft Shader Packs: Immersive Visual Overhaul for Minecraft
Unlike ReShade, Minecraft shader packs are specifically designed for Minecraft. They integrate directly into the game engine, fine-tuning the visuals for optimal performance within Minecraft. This often results in more realistic and immersive environments with less performance strain compared to universal solutions.
Installing Minecraft Shader Packs
- Download from Reputable Sources: Obtain shaders from trusted sources like CurseForge to avoid malware or corrupted files.
- Locate Your Mods Folder: Find your Minecraft mods folder. Consult your game's installation directory for precise instructions, if needed.
- Installation and Activation: Place the shader pack files in the designated folder and enable them in Minecraft's video settings.
Minecraft Shader Packs: Advantages and Disadvantages
Pros:
- Minecraft Optimization: Designed for Minecraft's engine, reducing potential performance issues.
- Simple Installation: Generally easier to install and configure than ReShade.
- Extensive Community Support: A vast community offers numerous shader packs to choose from.
Cons:
- Minecraft Exclusivity: These mods only work within Minecraft.
- Resource Intensive (Potentially): High-end shader packs may still demand significant system resources.
- Limited Customization: Less granular control compared to ReShade.
ReShade vs. Minecraft Shader Packs: A Detailed Comparison
Here’s a direct comparison to help you decide:
| Feature | ReShade | Minecraft Shader Packs |
|---|---|---|
| Game Compatibility | Multiple Games | Minecraft Only |
| Installation | More Complex | Relatively Simple |
| Customization | Very High | Moderate |
| Performance Impact | Varies, potentially high | Varies, potentially high |
| Ease of Use | Steeper learning curve | Easier to learn |
Performance, Security, and Troubleshooting
Both ReShade and Minecraft shader packs can impact performance. Higher-quality packs will generally lead to a greater performance drop. Always download from reputable sources to minimize security risks. If you encounter issues, consult online forums or the shader pack’s documentation. Troubleshooting often involves adjusting settings or verifying system compatibility.
Choosing the Right Option for You
The best choice depends on your preferences. For maximum flexibility and cross-game compatibility, ReShade is a powerful option. However, if ease of use and optimized performance within Minecraft are priorities, a dedicated shader pack is likely better suited. Experimentation will allow you to determine which option delivers the best results for your setup. Remember, a powerful GPU will help in either case!
Optimizing Minecraft Shaders for Performance
High-quality shaders can significantly impact frame rates. To mitigate this:
- Reduce Render Distance: Lowering render distance lessens the load on your GPU. Experiment to find a balance.
- Adjust Shadow Settings: Shadows are computationally intensive. Reduce resolution or disable them if necessary.
- Lower Anti-Aliasing: While anti-aliasing enhances visuals, it can significantly impact FPS. Start with medium settings and lower as needed.
- Choose Efficient Shaders: Select shaders known for their performance efficiency.
- Tweak Shader Settings: Most packs allow fine-tuning; adjust settings to improve performance.
- Upgrade Hardware: Consider upgrading your graphics card (GPU) and RAM for demanding shaders.
Remember, the goal is finding the perfect balance between visual fidelity and smooth gameplay. Experiment with different settings and shader packs to find your ideal configuration!
⭐⭐⭐⭐☆ (4.8)
Download via Link 1
Download via Link 2
Last updated: Tuesday, April 29, 2025